How To Install - Parashara Light 70 In Windows 11 Exclusive !!better!!
Stickies is always available on the web through your favorite web browser and it's also available on your computer.
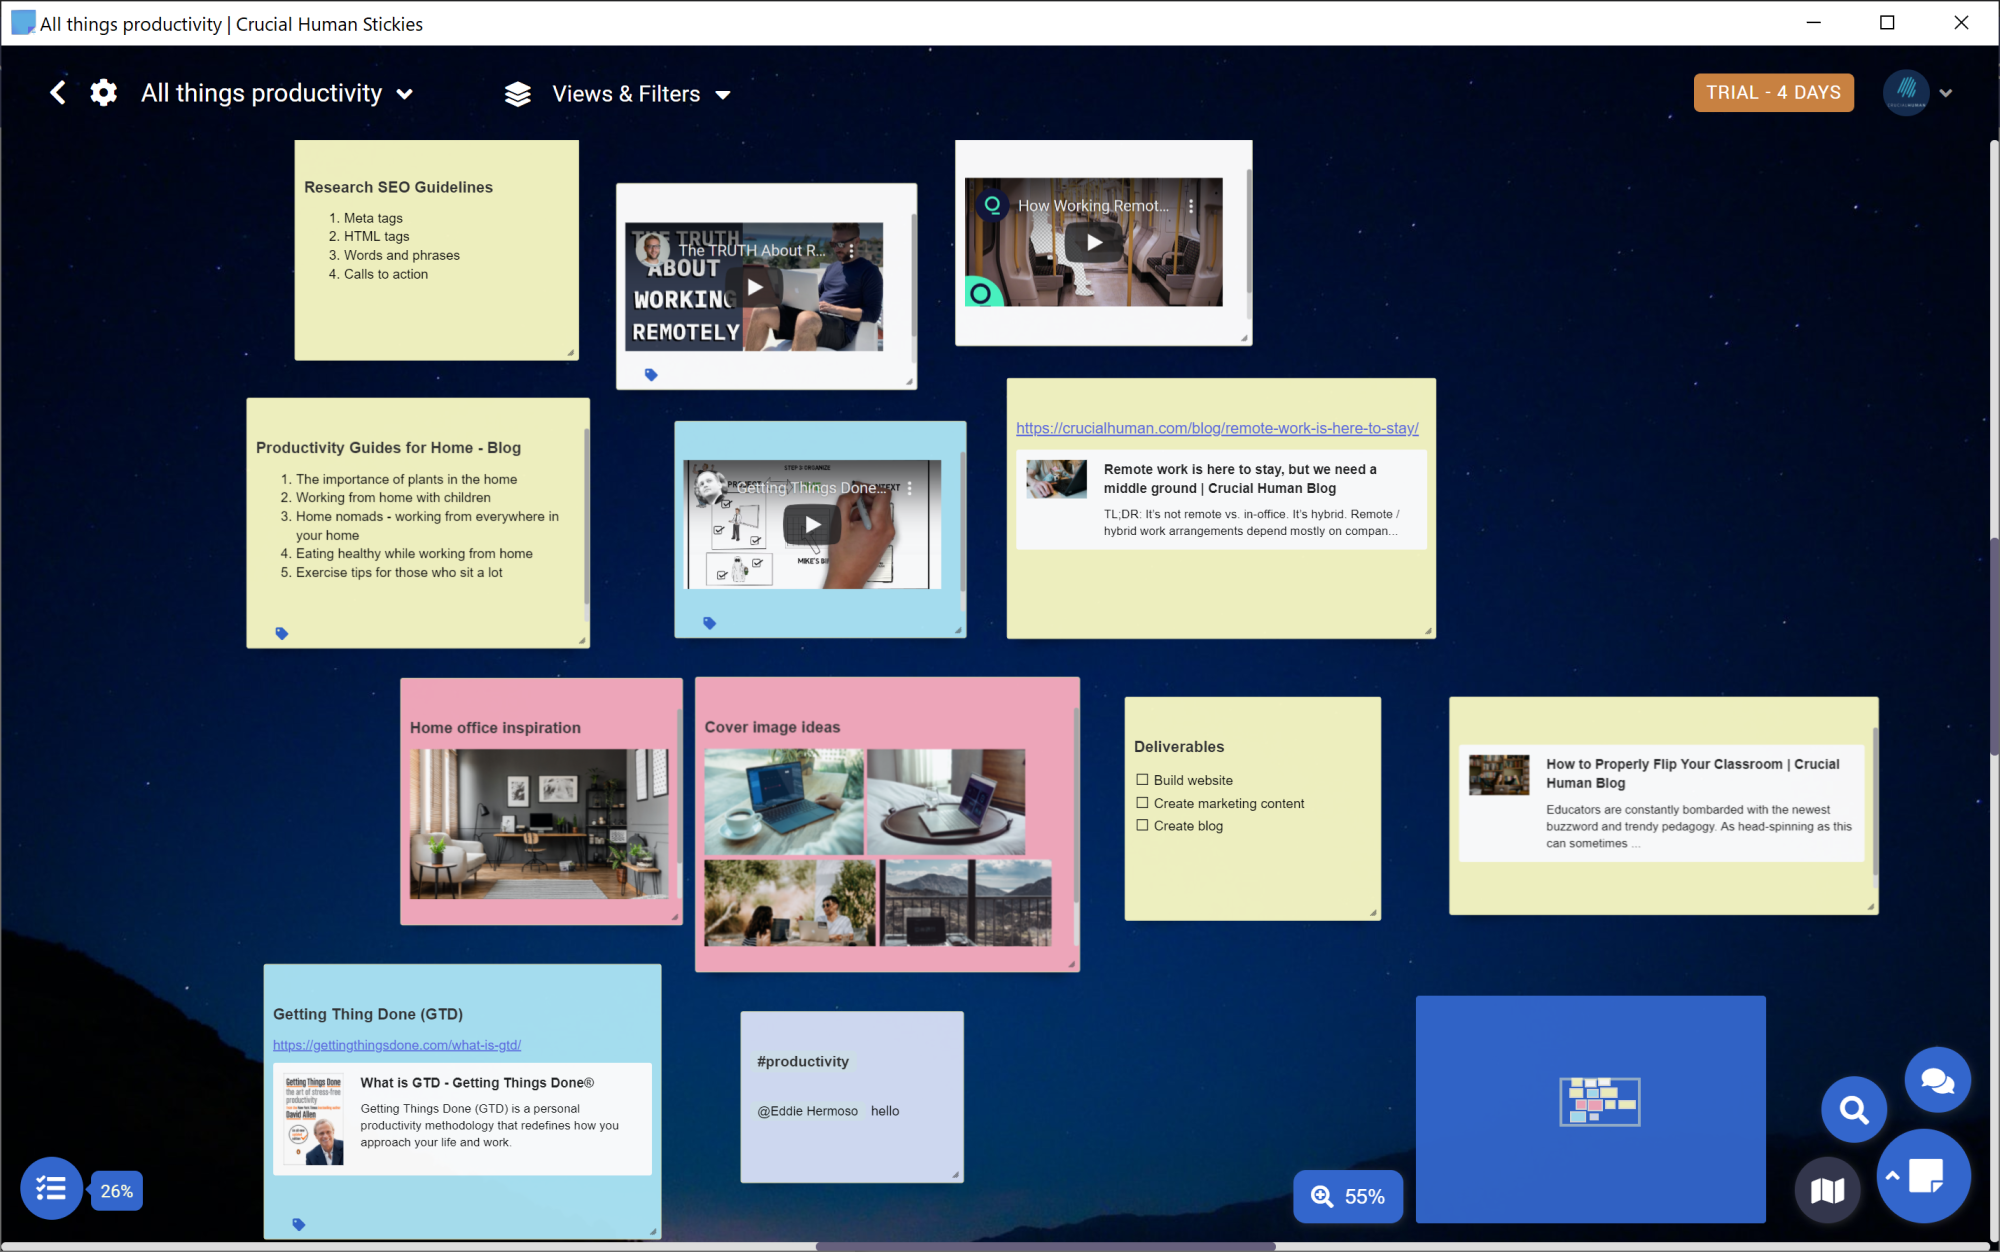
Never miss a moment. Keep productivity at your fingertips.
Stickies is always available on the web through your favorite web browser and it's also available on your computer.
Never miss a moment. Keep productivity at your fingertips.
Because Windows 11 uses an advanced 64-bit architecture, older 32-bit installers require manual configuration to execute correctly. Open your newly created C:\PL7_Setup folder. Locate the file named (or Install.exe ).
If you continue to experience difficulties, consult official support from the software publisher. Parashara's Light 9 and newer versions are actively maintained for Windows 11, but version 7.0 remains a stable, fully functional, and highly capable Vedic astrology tool for those who prefer it. how to install parashara light 70 in windows 11 exclusive
If you have existing PL 7.0 charts ( .jhora files), copy them to an external drive. Because Windows 11 uses an advanced 64-bit architecture,
After installation, you may need to configure the software to suit your preferences: If you continue to experience difficulties, consult official
This is the most important requirement for the licensed version of the software. Parashara's Light 7.0 uses hardware-based security that typically requires a physical USB dongle to function. Ensure the dongle is inserted securely into an available USB port on your computer before starting the software installation.
Stickies is a product of Crucial Human, a software company focused on human productivity, collaboration, and learning.
Visit Crucial Human to learn more about our products.